DIY Wooden Puzzle at Home: Tools, Steps & Safe Finish
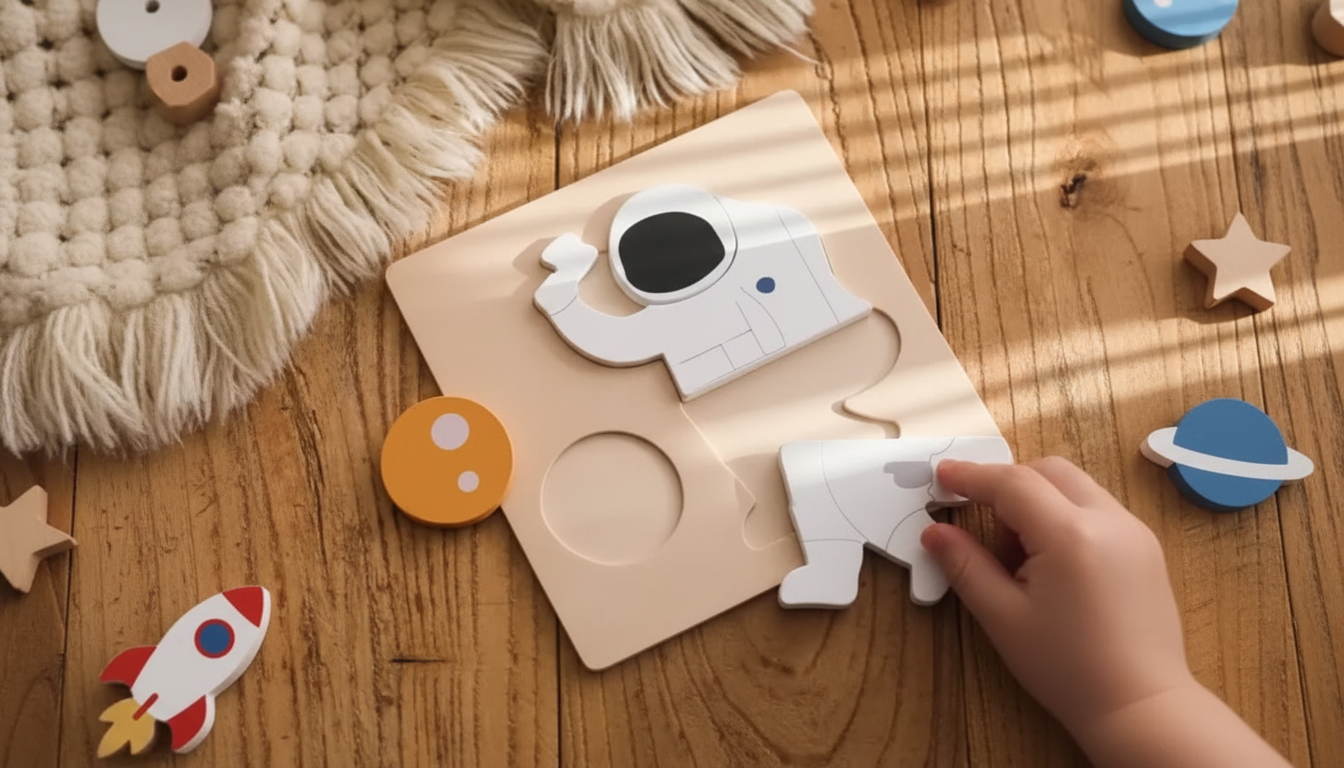
How to make a wooden puzzle at home?
Making a wooden puzzle at home is a satisfying weekend project that turns a simple board into a keepsake toy or gift. The basics are choosing safe materials, creating a clear pattern, cutting accurately, and finishing the pieces so they feel smooth in small hands. If you want photos, tool suggestions, and extra pattern ideas, follow the step-by-step guide here: https://infancyplaza.shop/how-to-make-a-wooden-puzzle-at-home/.
Choose the right wood and tools
Start with a flat, stable board such as birch plywood, maple, or poplar. For kids’ puzzles, aim for a thickness around 1/4–3/8 inch so pieces are sturdy but not bulky. Helpful tools include a pencil, ruler, painter’s tape, clamps, sandpaper (120 to 220 grit), and a scroll saw, jigsaw, or coping saw. If you’ll paint, add non-toxic acrylics and a water-based clear coat.
Create or transfer your puzzle design
Pick a simple image with bold shapes: animals, vehicles, fruit, or basic geometric patterns work well. Draw your design directly on the wood or print it and adhere it with removable spray adhesive. Mark piece lines with gentle curves and avoid skinny “necks” that snap easily. For toddlers, use fewer, larger pieces; for older kids, add more pieces and tighter interlocks.
Cut the pieces carefully
Clamp the board, then cut slowly along your lines, keeping your blade perpendicular for clean edges. If you want easy-to-grip pieces, drill a small finger hole in a few key areas or create knob-style pieces by gluing on small wooden pegs before finishing.
Sand and finish for safety
Sand every edge until smooth, rounding corners and removing splinters. Wipe away dust, then decorate with non-toxic paint or leave the natural grain visible. Seal with a child-safe, water-based finish and let it fully cure before play.
FAQ
What is the best finish for a kids’ wooden puzzle?
A water-based, low-VOC polyurethane or a toy-safe hardwax oil is a solid choice because it dries clear and helps protect the surface. Let it cure completely so it no longer smells and feels dry to the touch.









Leave a comment